We’ve made it to spring, Shopkickers! Who else is ready for warmer weather, more time spent outside, and blooming flowers? Though you may not be able to see us, our hands are raised up high! As we prepare to welcome this new season once again, we’re also eagerly awaiting the return of one of our favorite holiday traditions: decorating Easter eggs.
For years, one of the only ways to give your eggs a little extra flair was to dunk them in dye. While this classic way to decorate is still exactly that – a classic – there are now countless ways to make your Easter eggs standout. From using nail polish to adding stickers, we’re sharing eight ways to decorate Easter eggs below. We think you will find there’s an Easter craft for families of all ages!
Shaving Cream:
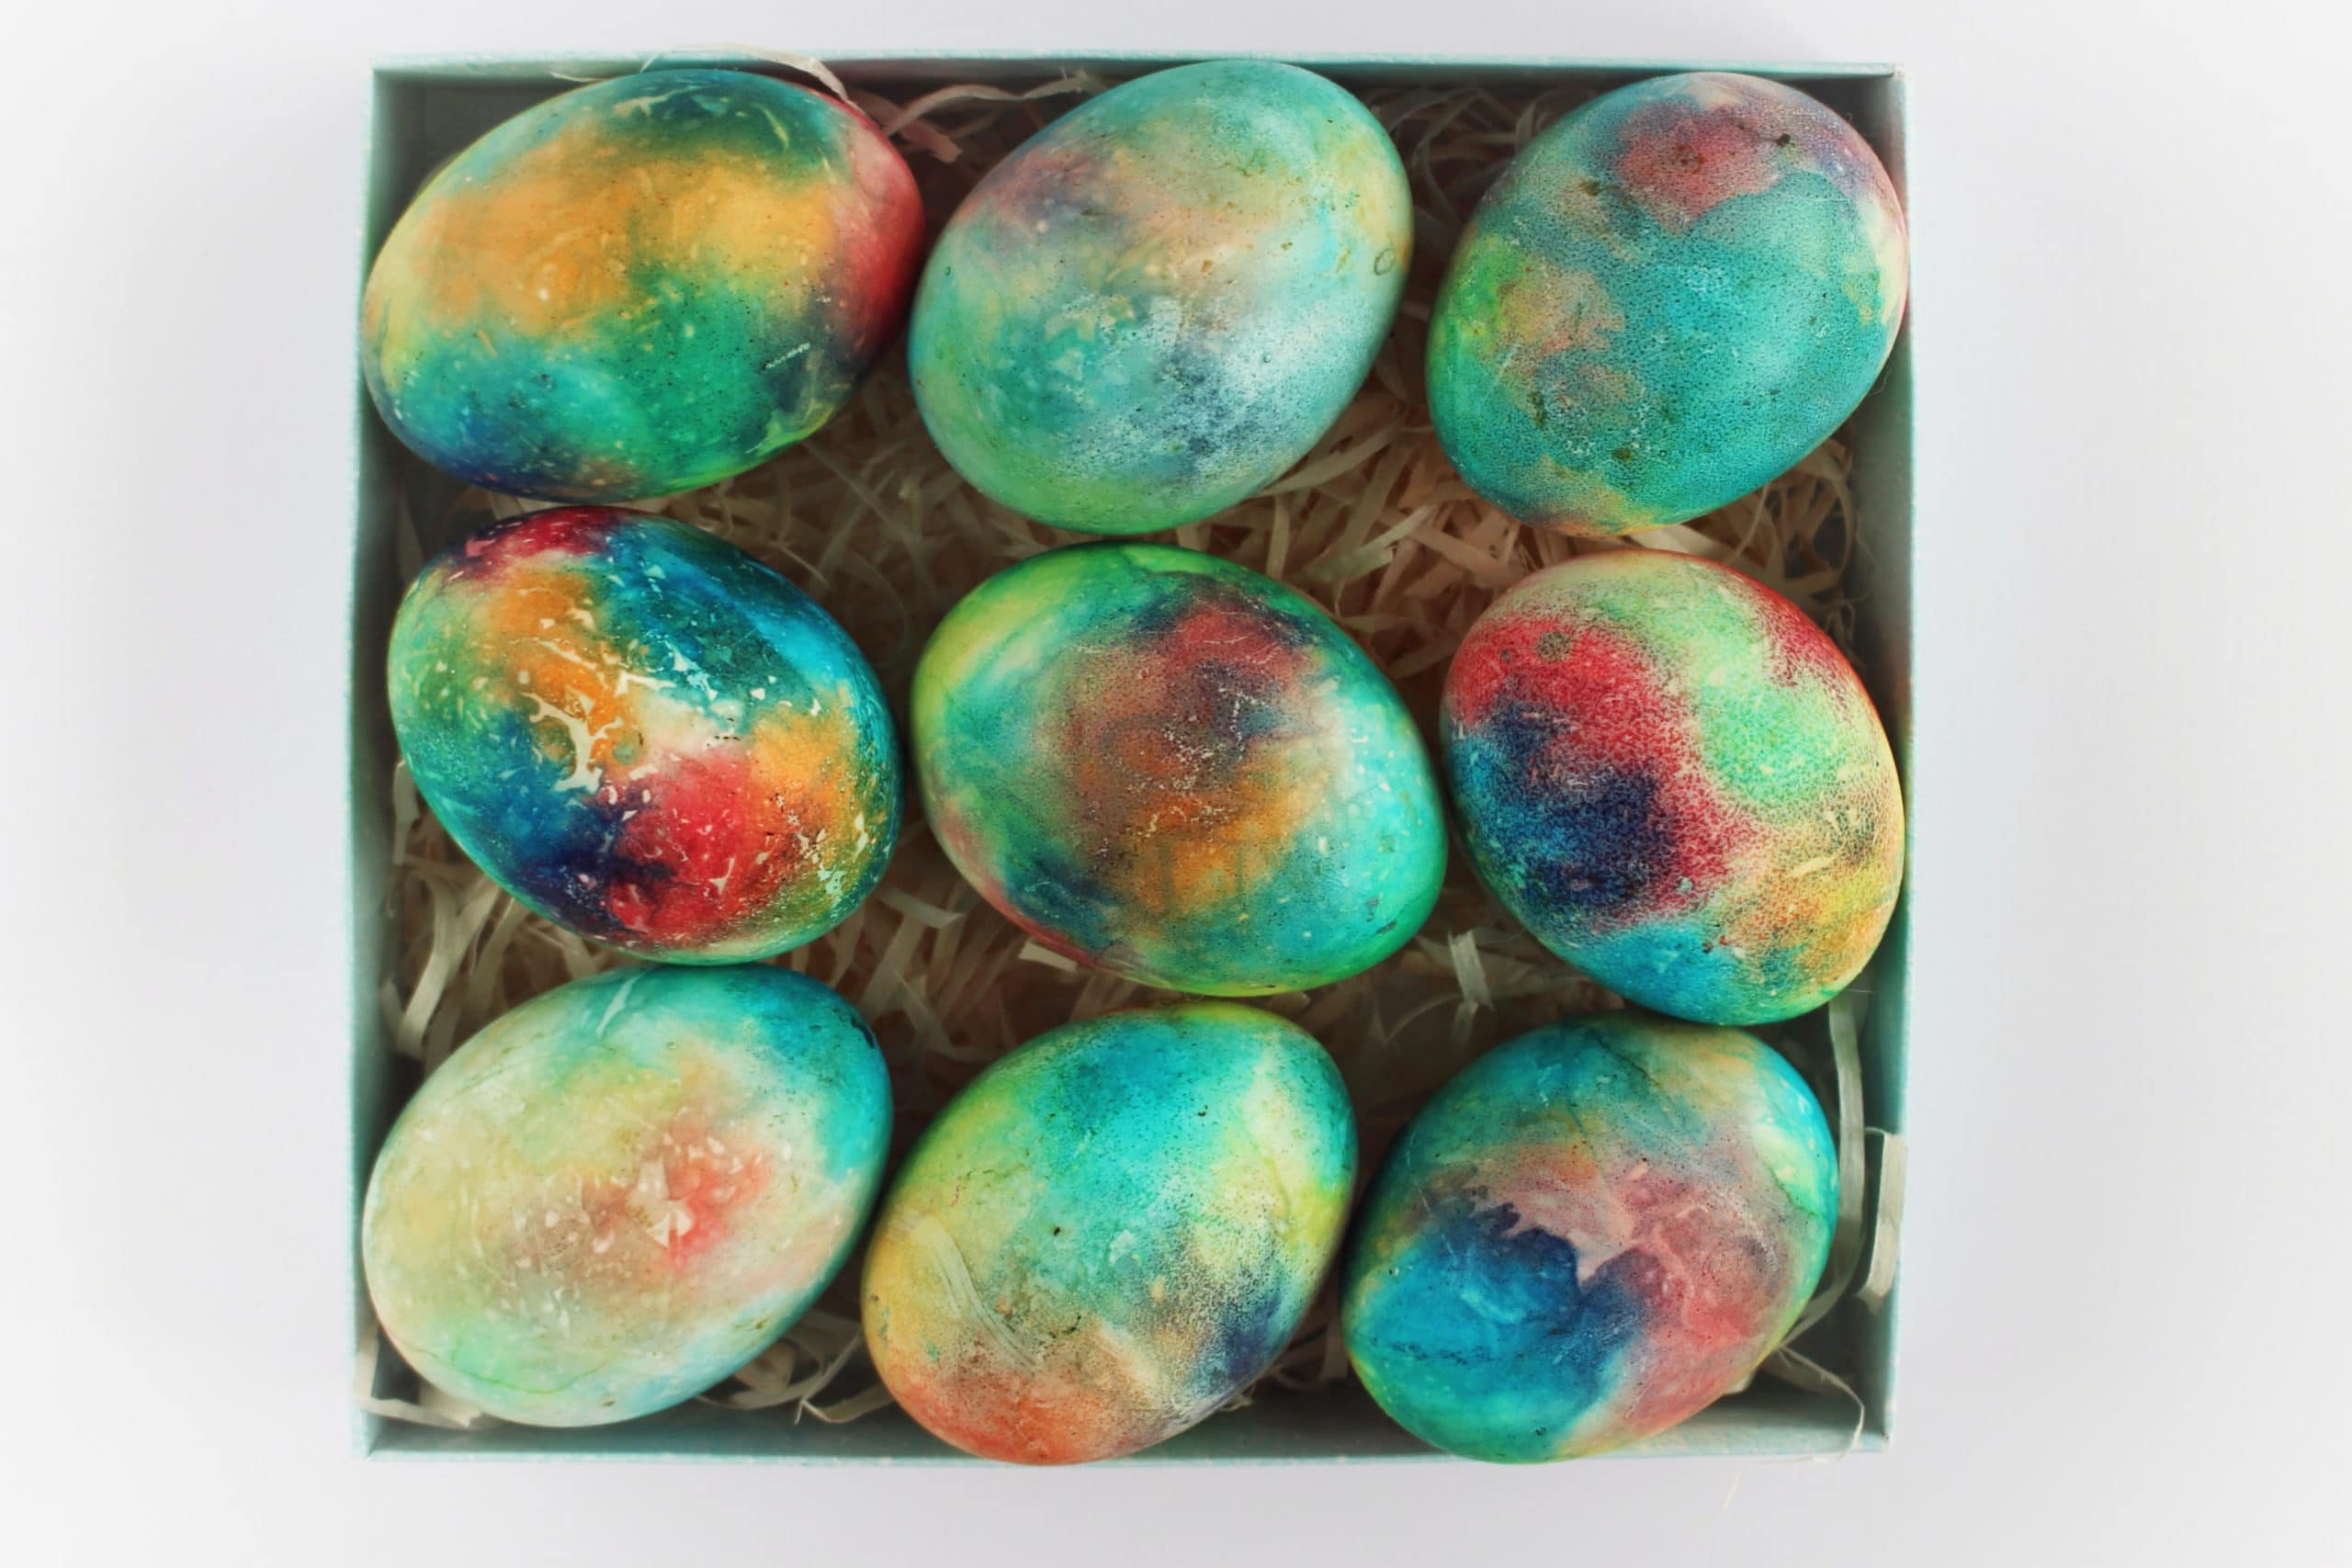
Have you ever dyed Easter eggs using shaving cream? We see these eggs floating around the web every year, and we’re eager to give them a try! You add drops of food coloring to shaving cream, twist the egg in the mixture, let dry, then wipe away the shaving cream. The result is a cool marbled look! P.S: You can also use whipped cream instead of shaving cream.
Natural Dye:
Sure you can use store bought dye, but for an extra challenge you can create your own Easter egg dye from the colors found naturally in foods! You will want to follow this tutorial that describes the colors found in specific foods and drinks (see: wine). Once you’ve chosen your colors, bring water, salt, vinegar, and your food or beverage of choice to a boil. Once done, strain, cool, and dye!
Stickers:
If you’re looking for a no-mess Easter craft, this is the one for you! Although you can definitely dye your eggs first, there’s no need because stickers add plenty of whimsy on their own. Simply purchase stickers or use some from your at-home stash and place them on Easter eggs. If you want to add more creativity, you can follow this tutorial where your kids can color their own stickers!
Nail Polish:
Did you know you can dye Easter eggs with nail polish? We didn’t either! This article walks you through the steps, and they’re simple. You’ll add a few drops of nail polish to a cup of water, swirl around, dunk your egg, and let it dry. The result will be a marbled Easter egg made with a beauty product you likely already have at home.
Glitter:
As long as you don’t mind a little mess, decorate your Easter eggs with glitter! Similar to other decorating ideas, you can still dye your Easter eggs first, or you can let the glitter shine entirely on its own. The steps to add glitter are simple: place glue on your egg, sprinkle on glitter, let dry, and enjoy!
Temporary Tattoos:
Temporary tattoos are not only for people, they’re for Easter eggs too! And, these are so quick and easy to make! You will want to source temporary tattoos (you can find them at Amazon). After you hard boil your eggs and allow them to cool, you will add your tattoos to your eggs by placing them face down, dabbing on water to allow the design to transfer, and pulling the paper away. Voila!
Baby Chicks:
Chicks are synonymous with Easter, and this tutorial shares how to turn your eggs into darling baby characters! The steps involve first dying your eggs yellow, then dip dying. After that, it’s all about creating a mini beak and drawing on clothes and details with a Sharpie. We think older kids will really enjoy this Easter craft!
Tie Dye:
Tie dye is everywhere, so add the trend to your Easter eggs! You will need paper towels, dye, and a spray bottle filled with water to create this Easter craft. The process of creating your tie dyed eggs is so similar to making a t-shirt. We hope you give this method a try!
How will you decorate your Easter eggs this year? Share your craft day with us on Facebook!

