How to Embrace Back to School Season

Over the past few months, we’ve discovered a new appreciation for our schools and teachers, especially as we look ahead to back to school season. This time of year always feels like the holidays for many parents and students. While this year likely continues to look and feel different for many students and families, we still believe back to school can (and should!) be celebrated. No matter if you’re prepping to learn virtually from home or return back to the classroom, below are four tips for embracing back to school this year. 

Start Incorporating Learning: 

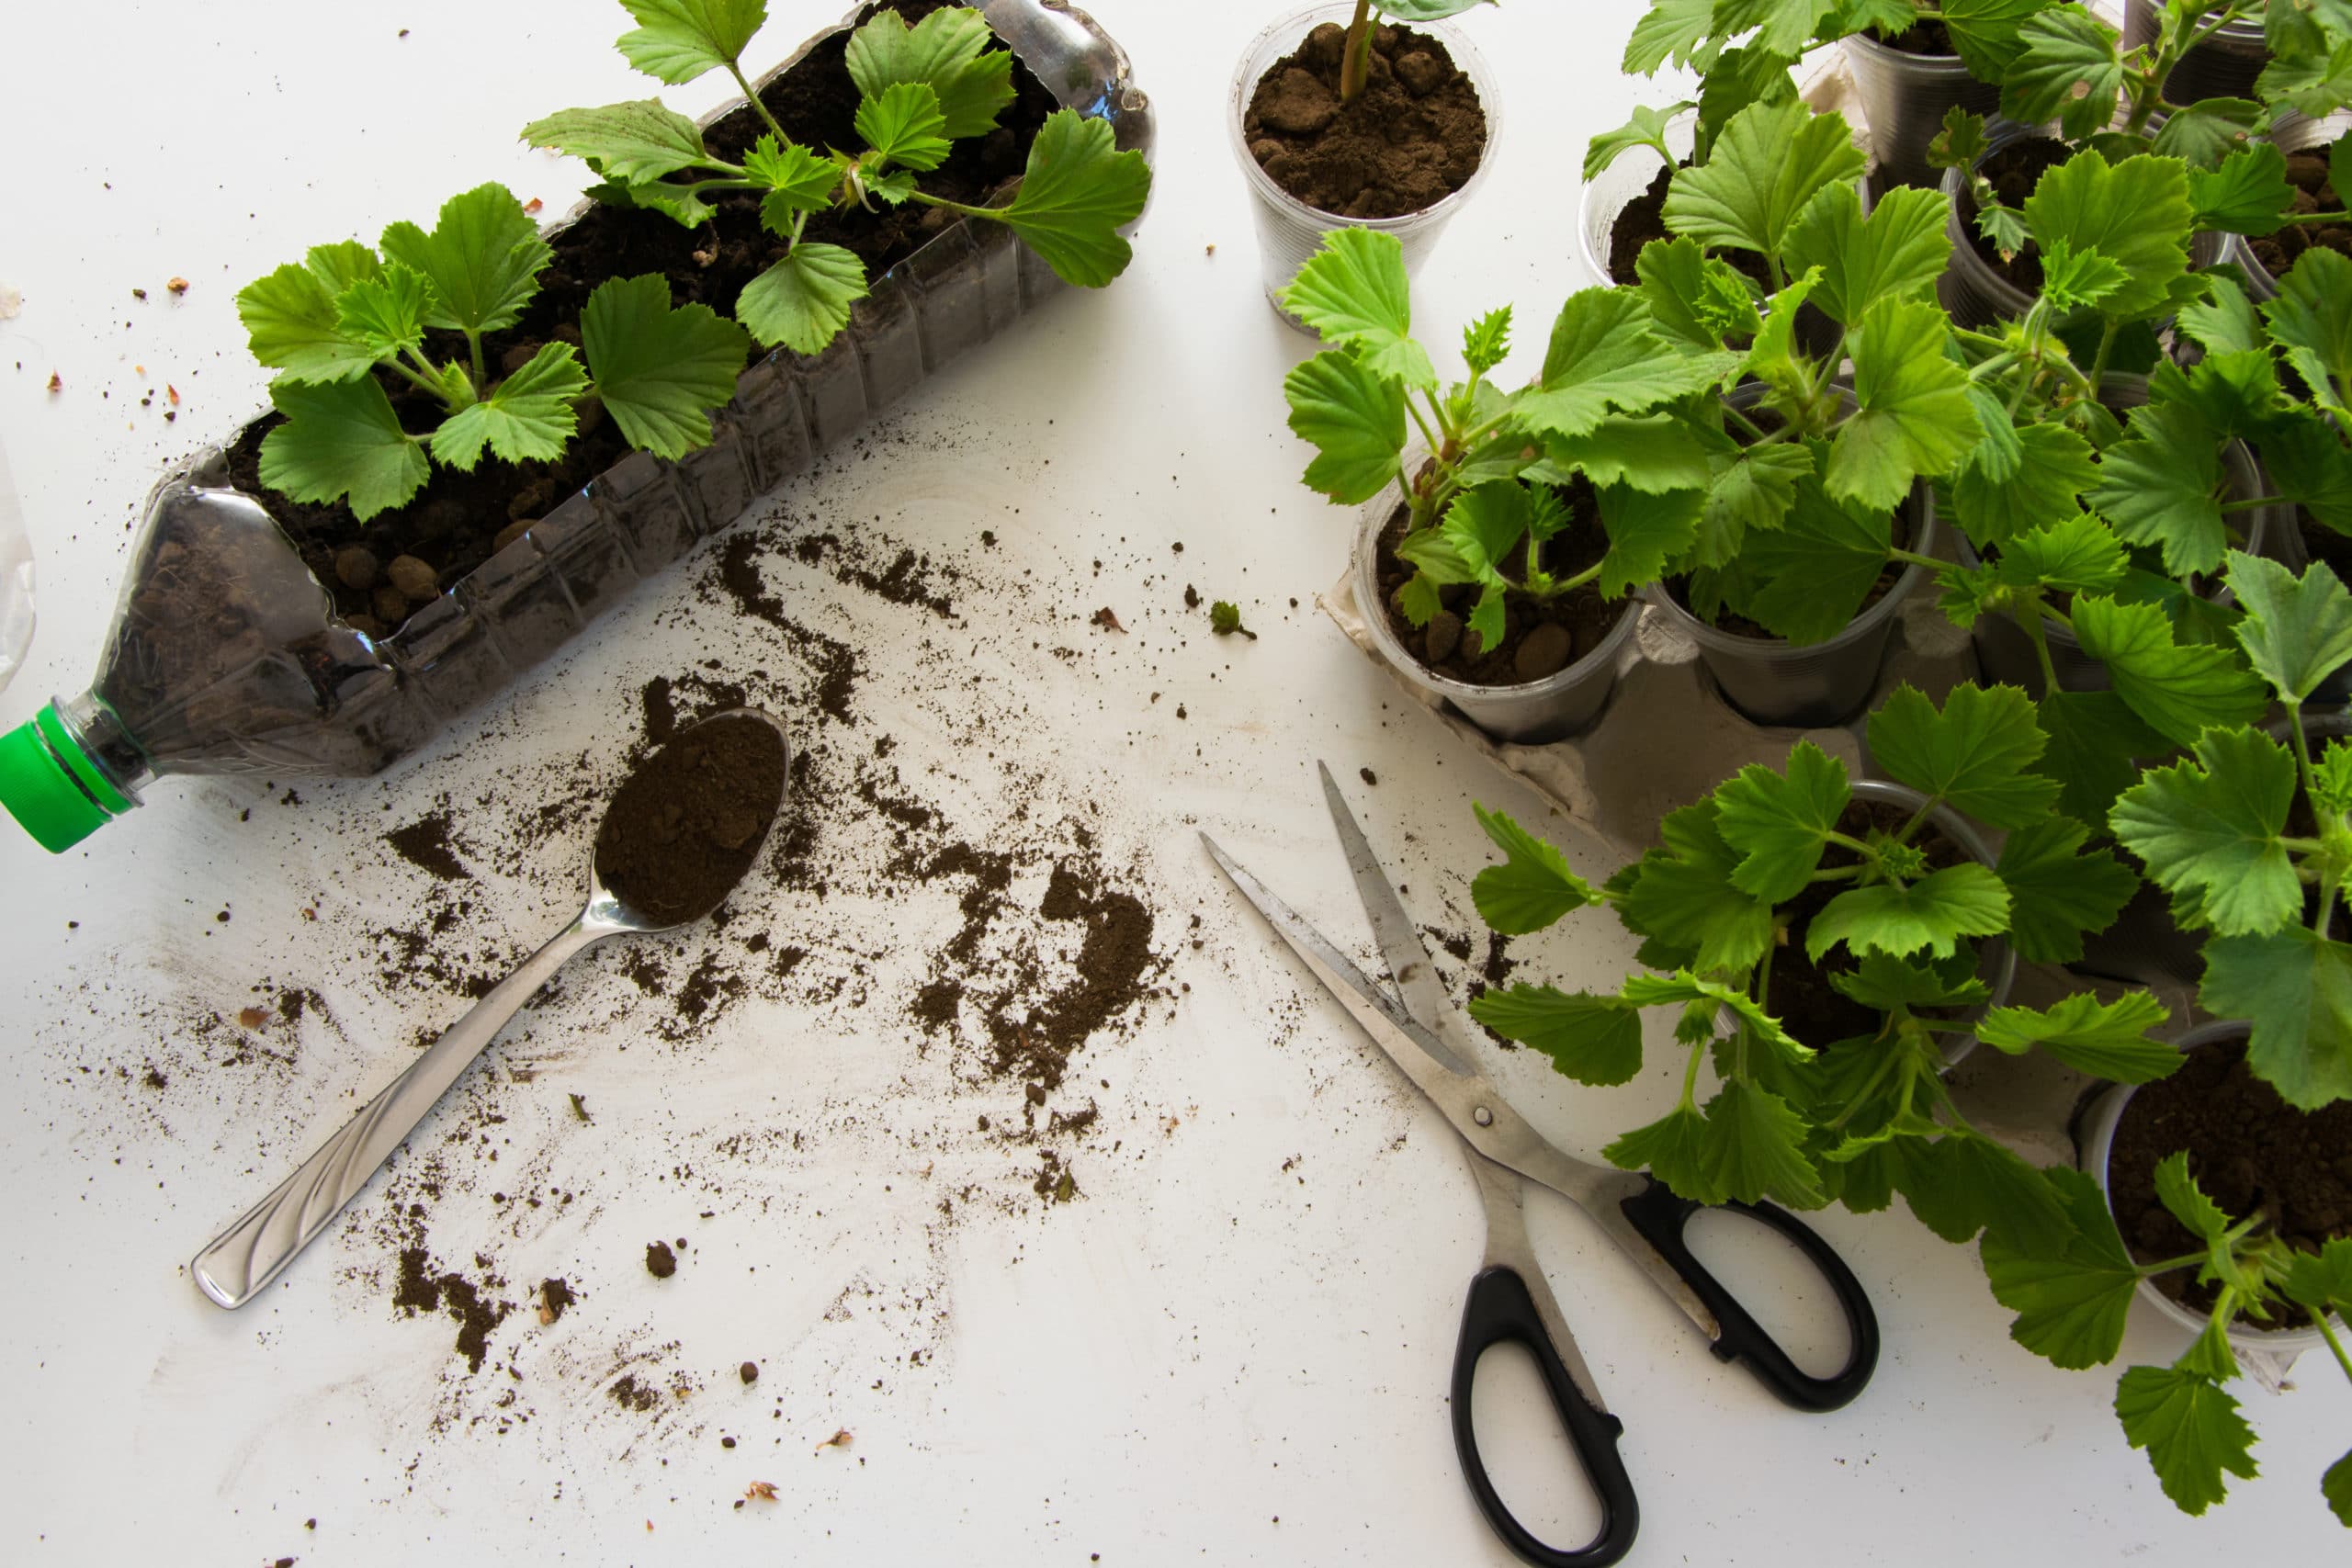
Depending on where you reside, you’re either days away from returning to school or you have another month filled with summer fun. Either way, one of the best ways to start getting into the school mindset is to ease it back into your everyday routine. Set aside time for your kids to read, switch to an educational game on a computer or iPad, dive into a math game, or complete a science experiment. By welcoming learning back now, students will feel more ready to fully embrace a school schedule in the days and weeks to come.

Create a Schedule: 

The summer is when we all relax our schedules and embrace a go-with-the-flow mindset, but schedules are key during the school year. Take a moment to revisit first grade teacher Mrs. Lamb’s tips from the spring. She and her kids discovered how they can best learn while at home. Mrs. Lamb said sometimes that involves incorporating more focused work during the morning followed by an increased emphasis on play in the afternoon. Start determining how you think your family’s ideal school day will look and feel now. Then give it a try in advance of your official start date.

Shop for School:

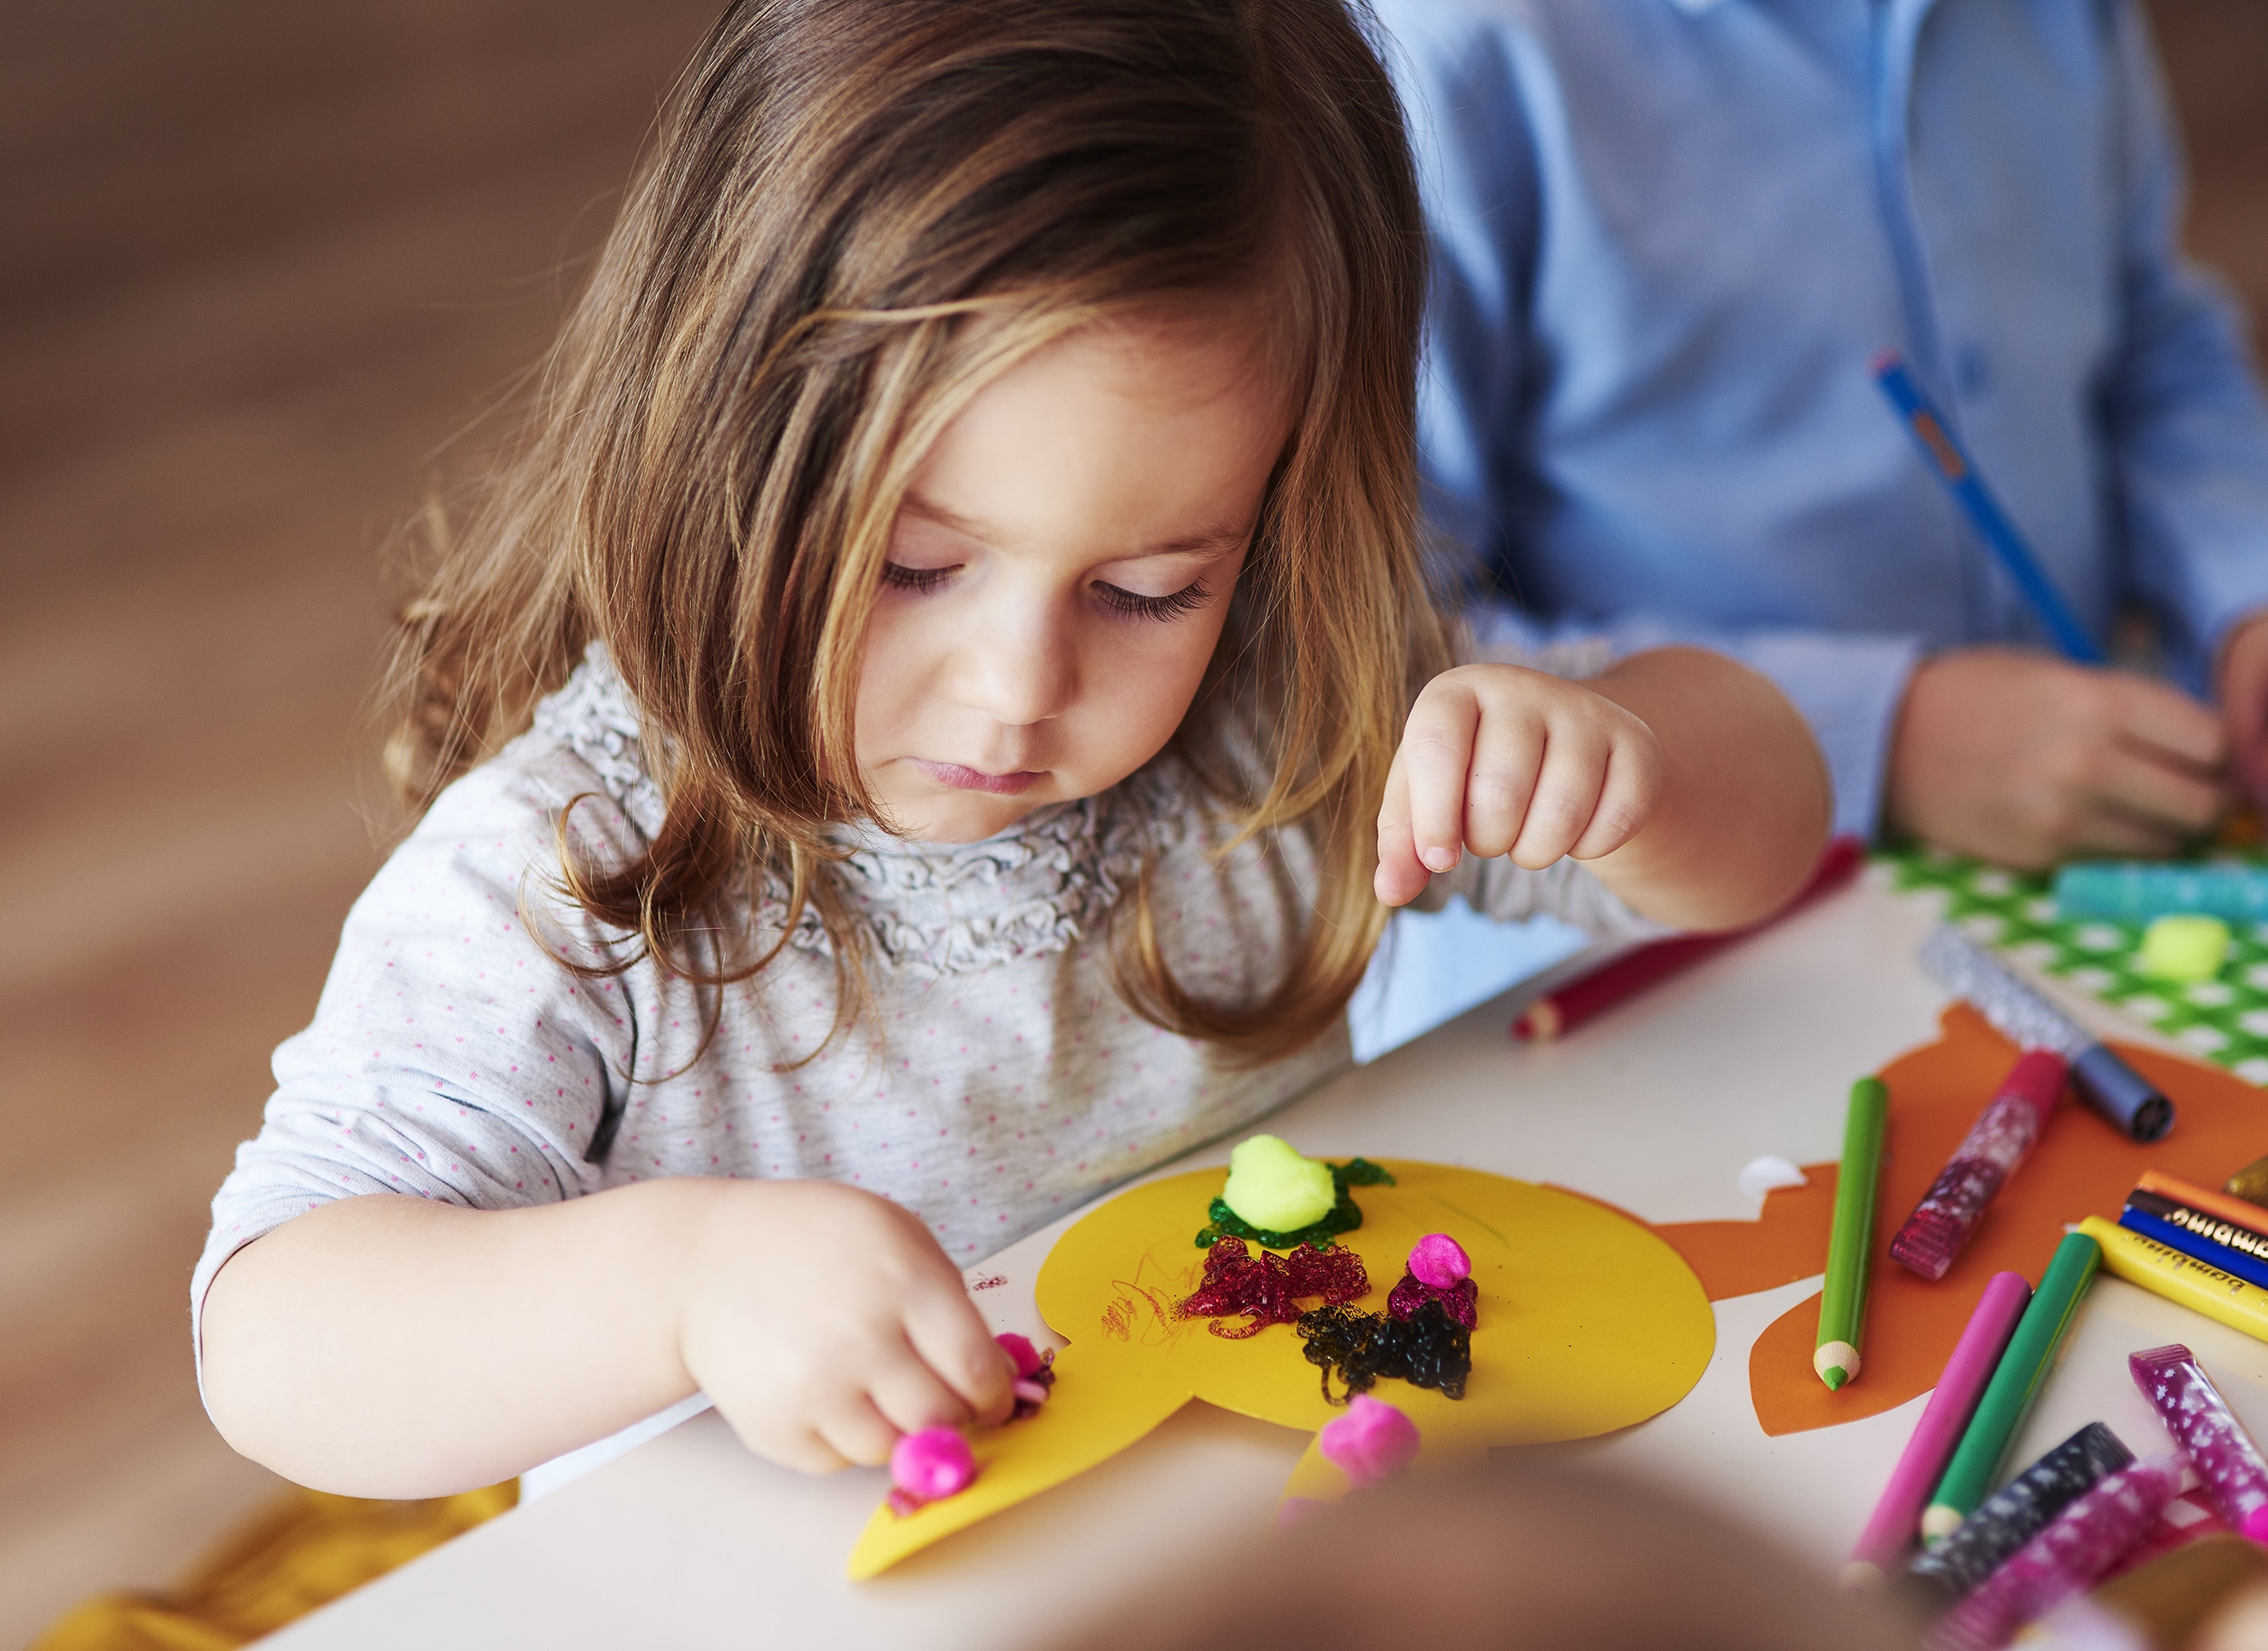
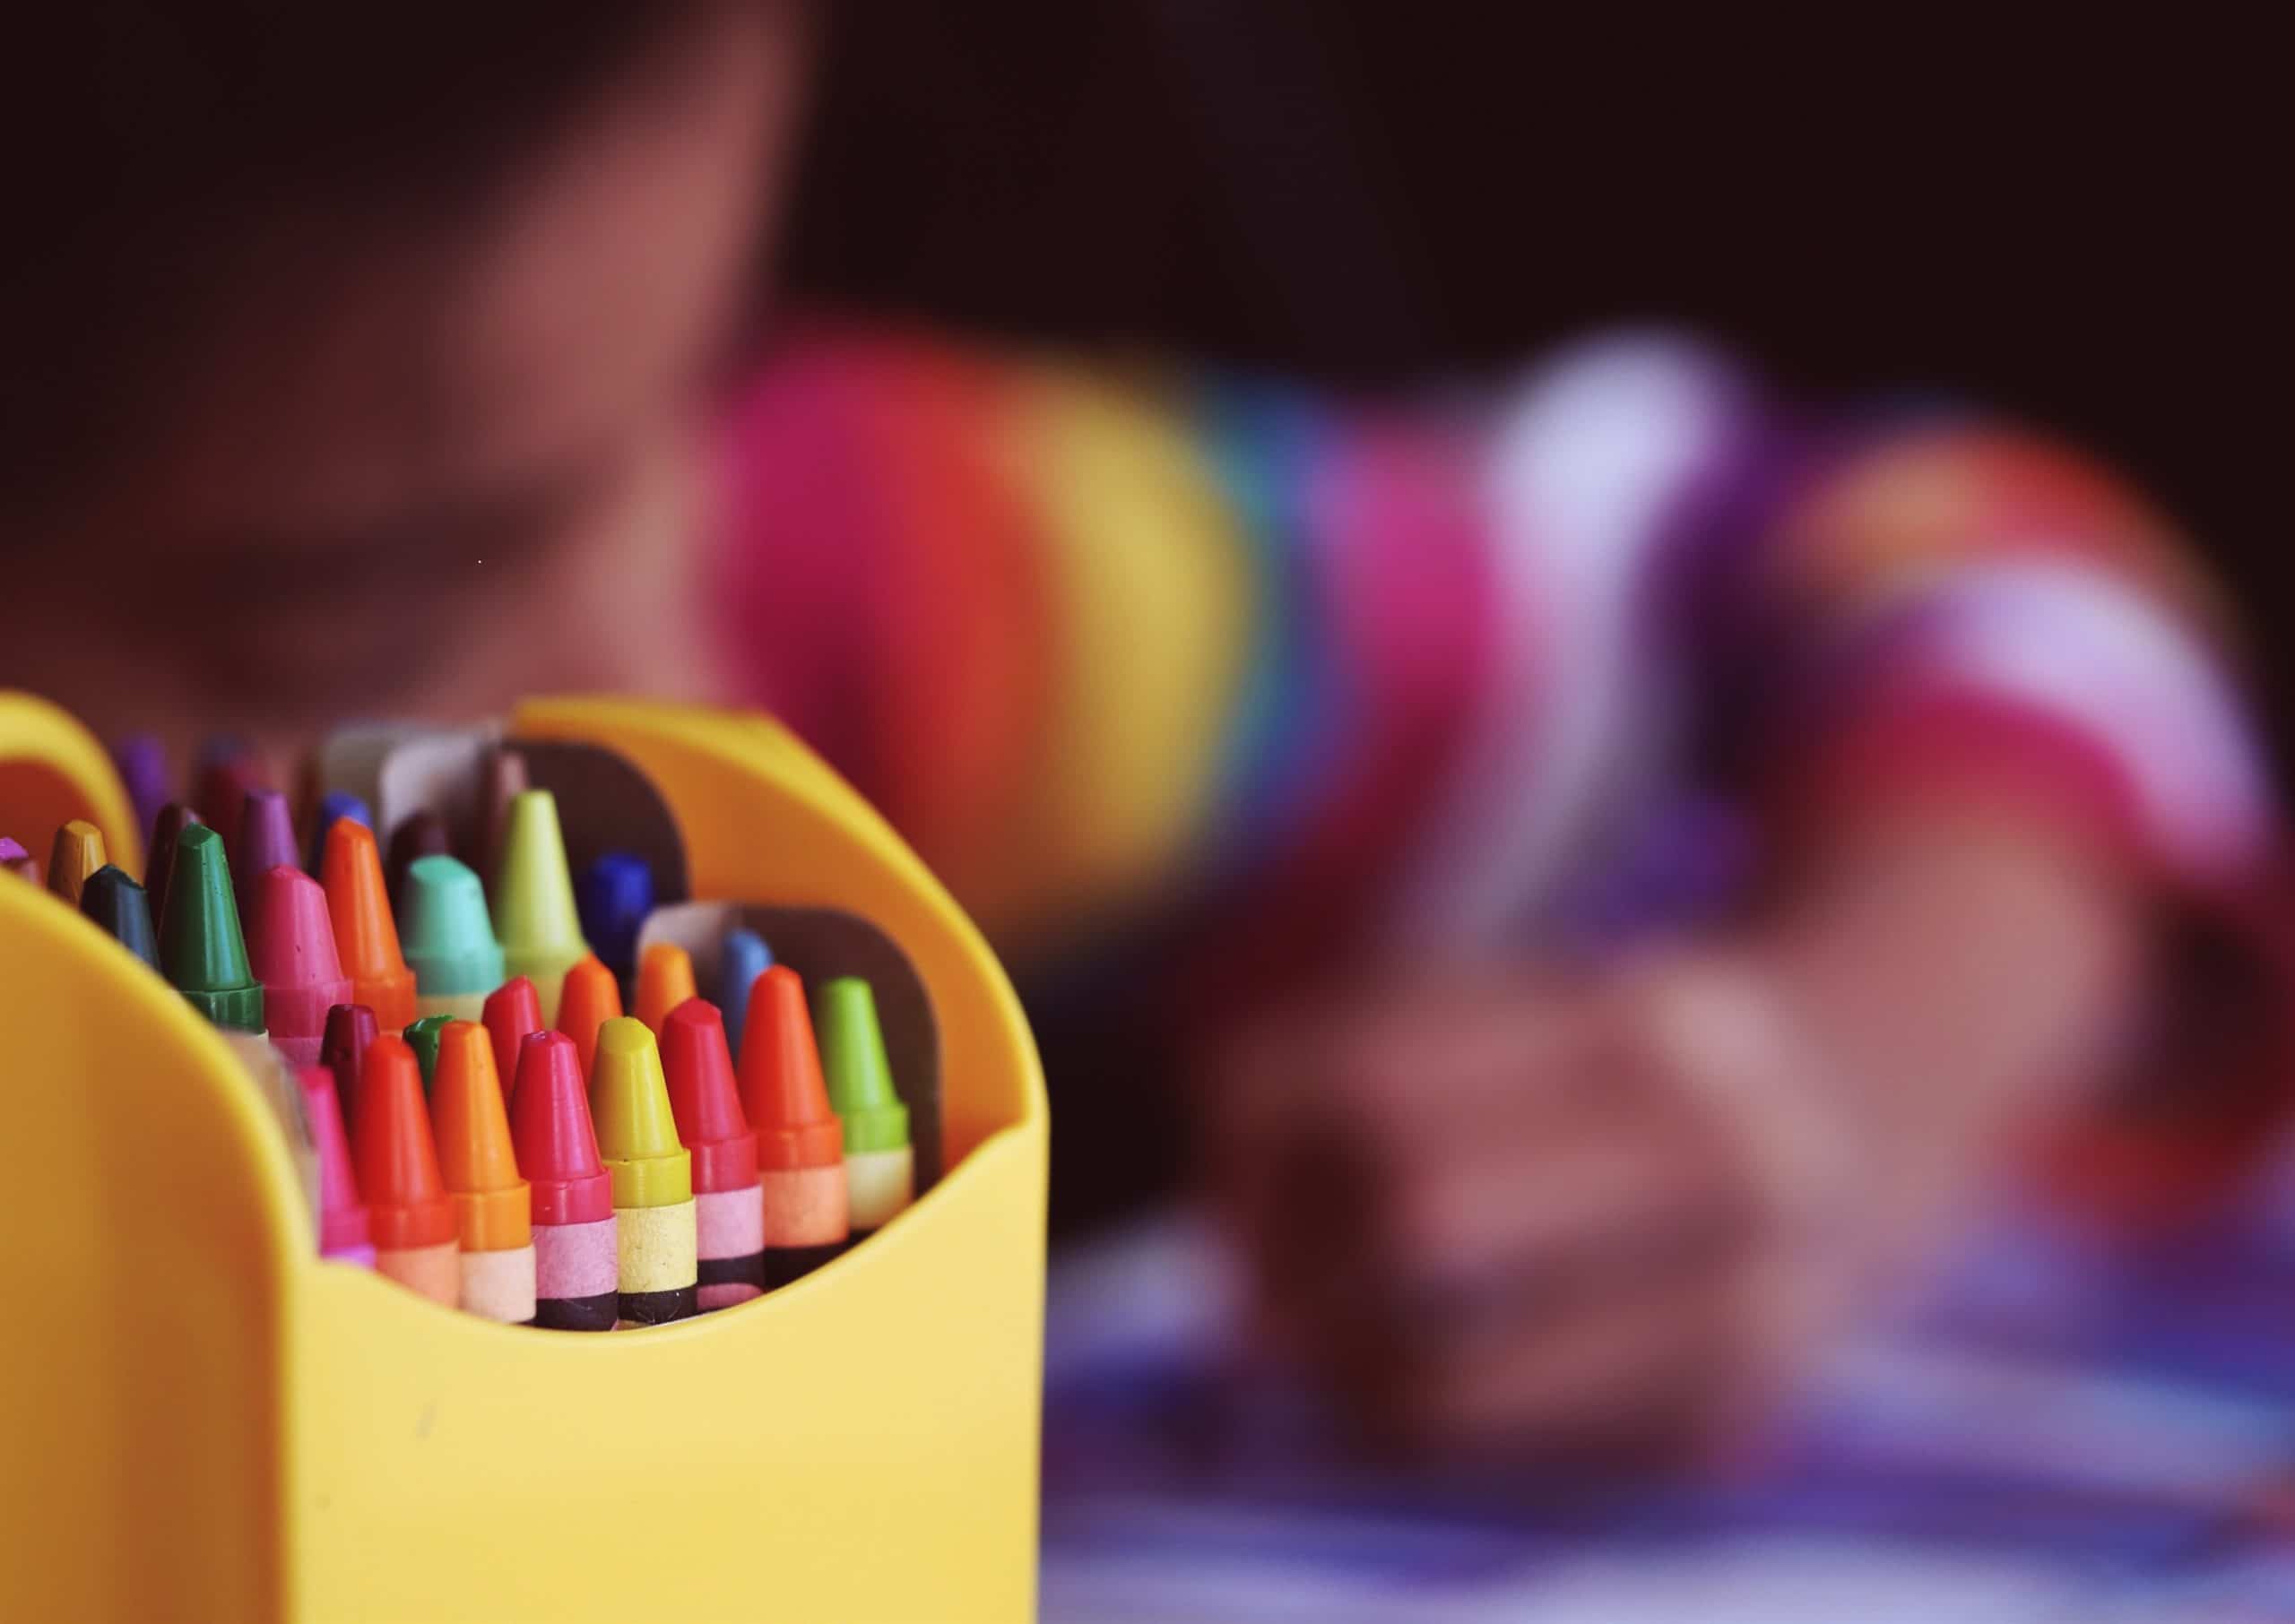
We know how much students love shopping for new school supplies, and this year should not be any different even if you’re planning to learn virtually from home. Purchase new folders, notebooks, pens, pencils, crayons, markers, tech, and more just like you normally would. This nod to normalcy will feel comfortable, familiar, and exciting to your kids, and we think you will enjoy it too.

Also, consider shopping for back to school clothes! We’ve found it’s best to make a concerted effort to get dressed every day even if we’re working at home, and we think the same is true for kids. Think about shopping for new tops, pants, dresses, and shoes from their favorite stores, like Carter’s, OshKosh B’gosh, GAP, Kohls, Dicks Sporting Goods, and more through your Shopkick app as you embrace the fall season together. You’ll earn kicks, and your kids will keep up with their fun school year style. 

Embrace the School Season:

Just as you did during the spring, now is the time to embrace the school season whether it involves learning from home or returning back to the classroom. The more you and your student lean into learning, the more fun and normal it will become. Many of us are facing the same challenges, so keep this in mind: We’re all learning together, Shopkickers!

How are you and your kids embracing back to school this year? We would love to hear your thoughts on Facebook! 

P.S: For more on our “How to Homeschool” series with Mrs. Lamb, click here!

Engaging Math Games for Kids

First grade teacher Mrs. Lamb returned to Facebook Live today to debut a new segment! This time, she chose to highlight a subject that can sometimes feel difficult to teach, especially at home – math. Below, we’re sharing the three activities and games she shared that are sure to keep kids young and older engaged and learning throughout their stay-at-home school day and beyond.

Number Scroll:

The first activity Mrs. Lamb highlighted is a number scroll. You will need a piece of computer paper to use to create a chart (or you can download this PDF), a pen or pencil, crayons or colored pencils, and an empty toilet paper or paper towel roll (you’ll want to cut the power towel roll in half). 

If you choose to create your own chart, you will want to make one with 10 rows across and 10 rows down. Then, ask your student to number each box within the chart with 1-100. For young students, this will offer plenty of a challenge; however, students who already know how to count beyond 100 will want to count even higher. The scroll happens when you attach more paper to your first sheet to start to create a scroll that can be rolled up and stored inside of the toilet paper roll when your student wants to move on.

They will Learn: Counting, numbers, number reversal, patterns, and even handwriting.

Enhance: Consider enhancing this activity by attaching more sheets, as we mentioned, and asking your student to add color for patterns they see appearing – even numbers, odd numbers, prime numbers, 5s, 10s, and more.

One More One Less:

In order to play this game, you will want to download this PDF. You will also need at least one dice, if not two. To be able to play repeatedly, you can also think about placing the sheet inside of a gallon sized clear bag because the bag will act as a white board. 

How to Play: Roll the dice and write down the number rolled in the middle section of the row. Then, write a number that’s less than the number rolled on the left and a number that’s more than the number rolled on the right. Keep going until you reach the end of the sheet! 

They will Learn: Counting, numbers, addition, and multiplication.

Enhance: For students who already know how to count to six, play this game using two dice. After they roll, your student can add or even multiply the number appearing on each dice together. Students can still write numbers that are less and more than on either side of the number in the middle column.

Doubles Aren’t Trouble:

Encourage your student to enjoy multiplication and addition when you play Doubles Aren’t Trouble. Similar to One More, One Less, you will need a PDF and one dice. You can also consider the DIY white board method mentioned above! 

How to Play: Roll the dice, and multiply the number that appears by 2. Then find the number on the game board and circle it. The first person to have four in a row wins!

They will Learn: Numbers and multiplication.

Enhance: To encourage longer playtime, print out a sheet for each player planning to participate. In order to win the game, they must circle every number on their card rather than only getting four in a row. 

How are you encouraging your student to embrace math while learning from home? Let us know which math activities they are enjoying on Facebook!

3 Ways to Engage Young Readers

Happy Thursday, Shopkickers! First grade teacher Mrs. Lamb filmed another segment today on Facebook Live. Because we want to make sure we’re answering the questions you have, Mrs. Lamb answered one of your questions today. She shared three great tips about how to keep young readers engaged, and we have the recap below.

Lego Sight Words

Mrs. Lamb touched on the importance of sight words for young readers, and she revealed a fun new way to help students to learn them – Legos! Simply write one letter on one (or both) sides of a Lego brick. Keep going until you have a collection. Then ask your student to create sight words with the lettered bricks.

By participating in this learning activity, they’re learning about:

  • Fine Motor Skills – The act of making mini groupings of Legos helps with this.
  • Letter Identification – Your student must know which letter is on the Lego in order to use it.
  • Spelling – Your student is learning how to spell their sight words while they’re building.
  • Sentences – Once your student has built a few words, ask him or her to create sentences using the groupings.

Roll + Read

Similar to creating words with Legos, Roll + Read allows kids to be interactive while reviewing sight words. The idea is simple: create a mini board with the numbers 1-6 written vertically down the side. Next to each number add three sight words across the board horizontally. It helps to use a whiteboard if possible!

In order to learn, your student will roll a dice and choose a word from the row associated with the dice’s number from the board. They will read it out loud, and as long as it’s correct, erase it from the board. This is a great activity for kids to do independently, and you could also turn it into a game to see how fast the board can be completed. Then, decide on a fun reading reward! 

How to make a whiteboard:

  • DVD Case:
    • Remove the front and back covers from a white DVD case. Leave the plastic on.
    • Use a permanent or whiteboard marker to write on the board.
    • Use an old sock to erase.
  • One Gallon Bag:
    • Place white computer paper inside a zipped one gallon bag. If you use a mini stack, it will be easier to write on the board.
    • A permanent marker, whiteboard marker, and an old sock work here too.

Roll + Retell

Mrs. Lamb’s final tip to engage young readers is called Roll + Retell. This PDF from Fun in First is a great tool because it offers prompts for readers to answer about the key components of a story, like characters, setting, and more. Each component of a story is associated with a number from a dice, so you or your student will want to roll the dice in order to see which story question they should answer. Roll + Retell is interactive and fun, plus it’s also ensuring your student is learning and absorbing while enjoying listening or reading books. 

If you’re looking for great story resources, visit YouTube! Plenty of authors, illustrators, and celebrities have been taking to the internet to read to young students. Your kids will be busy for a while!

How do you encourage your young reader to read? Let us know and make sure to tune into Mrs. Lamb’s next Facebook Live segment on Tuesday!

Four Kids Crafts for Earth Day

It’s Tuesday, which means we welcomed first grade teacher, Mrs. Lamb, back to Facebook Live! Mrs. Lamb shared one of her favorite holidays is tomorrow – Earth Day. And, she’s still planning to celebrate at home with her kids and over Zoom with her students. Below, we’re detailing the four simple crafts and experiments you can do from home with materials you likely already have on hand.

Bug Hotel:

The bug hotel is exactly like it sounds – a fun spot where bugs will want to inhabit (outside, of course!). Here’s how to make one:

  1. Cut off the top and bottom of a plastic bottle. A soda or water bottle is perfect!
  2. Go on a nature walk and pick up items like sticks, flowers, leaves, and moss.
  3. Thread your items into your bottle until it’s full.
  4. Poke two holes in your bottle, thread twine through the holes, and hang your habitat outside on a tree.

For extra learning, ask your student to journal about the experience, make a hypothesis about the varieties of bugs that will like the hotel you’re creating, and take photos of your hotel in progress. 

Earth Day Headband: 

Mrs. Lamb and her students love creating Earth Day headbands to wear throughout the day! It’s a fun way to kick off the day with a craft and plenty of meaningful conversation about reducing, reusing, and recycling. Here’s how to make one: 

  1. Download the PDF from Smitten with First.
  2. Color your earth, glue all necessary pieces, and complete the prompt about how you reduce, reuse, and recycle.
  3. Glue all pieces to a headband and wear it throughout the day!

For extra learning, talk with your student about the areas of the earth they’re coloring and why they’re choosing specific colors. See if you can think of new ways to reduce, reuse, and recycle. Chat with friends about Earth Day!

Crayon Planter:  

If you have old crayons hiding in drawers, this project is a great way for you to reuse and recycle your materials. Plus, you will have a unique and fun planter once it’s complete. Here’s how to make one:

  1. Gather old crayons and remove all of the paper on the outside.
  2. Rinse out a can.
  3. With a hairdryer on high heat, hold a crayon on the outside of the can and watch as the wax melts onto the can. Repeat until the can is covered.
  4. Add soil and seeds – your planter is complete!

For extra learning, explore why crayons melt when a hairdryer is used and talk about what you might grow in your planter. Mrs. Lamb shared she’s growing strawberries!

Ecosystem:

Mrs. Lamb’s final Earth Day project is one of her favorites – an ecosystem! This project is simple, but the results can be seen for days and weeks on end as your seeds continue to grow. Here’s how to make your own ecosystem: 

  1. Collect two soda bottles (you may want to have three ready just in case)
  2. Cut off the top of one bottle and the bottom of another
  3. Flip one bottle upside down and nest it inside the other (the top of the bottle where the cap would normally be should now be inside of the other bottle)
  4. Fill the top bottle with a layer of rocks followed by layers of soil. Mrs. Lamb’s kids added moss in between their rocks and soil.
  5. Plant seeds in the soil.
  6. Water your seeds and watch as any additional water trickles through the top bottle and lands in the bottom bottle. Your ecosystem is ready to thrive!

For extra learning, continue to water your ecosystem and track its progress. You will notice the seeds beginning to sprout, and overtime the roots will poke through the bottle’s opening and flow into the bottom bottle where the water is collecting. You will find you will need to water your ecosystem less and less because the roots will be able to collect their own water.

Make sure to catch Mrs. Lamb’s Earth Day Facebook Live, and have fun celebrating the 50th anniversary of this great holiday. We’ll see you back on Facebook for Mrs. Lamb’s next session on Thursday!

How to Homeschool: Two Easy Crafts for Preschoolers

Mrs. Lamb was back on Facebook Live yesterday, and this time she answered your question about how to encourage preschool age students to be creative. Throughout her broadcast, Mrs. Lamb explained how to do two different crafts with young kids between the ages of three and seven. We loved seeing the results of her mosaic art and dot art projects, and we’re excited to share more about each below! 

Mosaic Art:

Supplies:

  1. A picture either hand drawn or printed onto a piece of paper (a coloring book picture could work too!)
  2. Construction Paper
  3. Glue Stick

Why It’s Important:

This project encourages preschoolers to work on their fine motor skills because they will need to rip small pieces of paper. The skills they are exercising through this craft are the same skills they will use when they begin to work on their handwriting. That’s why projects like this one are important! Students can also learn about colors, math (you can ask them to count how many pieces of paper are needed to fill in each section), and staying within the lines.

Directions:

  1. Draw or print the outline of an object onto a piece of 8”x11” paper. The outline is important because your student will be filling the interior with paper.
  2. Tear small pieces of construction paper
  3. Beginning with the large sections, glue each piece of construction paper onto the larger paper within the section where your student would like it to be placed. The small pieces of paper should overlap. 
  4. Repeat steps 2 + 3 until the outline is filled in.
  5. Hang your preschooler’s project up! Placing it face out on a window is a great idea, so your neighbors can enjoy your student’s colorful art during their walks.

Dot Art:

Supplies:

  1. A picture either hand drawn or printed onto a piece of paper (a coloring book picture could work too!)
  2. Water Based Paint (Crayola works well!)
  3. Q-tips

Why It’s Important:

Like the mosaic art project, dot art encourages your student to work on their fine motor skills because they are pinching a Q-tip while they’re painting. They can also work on coloring within the lines, learning the difference between cool colors and warm colors, and how to describe their work.

Directions: 

  1. Draw or print the outline of an object onto a piece of 8”x11” paper. The outline is important because your student will be filling the interior with paint.
  2. Dip your Q-tip into the paint and paint dots* onto the paper.
  3. Repeat until the page is complete.
  4. Ask your student to describe what each color they’re using means to them and make a color guide.
  5. Hang your preschooler’s art in a place where you and your neighbors can enjoy it!
  6. *If your preschooler would prefer to paint longer strokes using the Q-tip, that’s fine too! As Mrs. Lamb points out, they are still working on their fine motor skills.

The important thing to keep in mind with either project is there isn’t a right or wrong way to complete them. Encourage your child’s creativity along the way! 

For more ideas and to see Mrs. Lamb explain (and make!) the projects, make sure to watch her Facebook Live. We’ll see you back on Facebook tomorrow for Mrs. Lamb’s next session!

How to Homeschool: Easy Science Experiments

We continued to share more fun activities you can do with your student at home while you navigate homeschooling together. Yesterday was all about science! We welcomed first grade teacher Mrs. Lamb back to Facebook Live, and she shared two great science experiments she discovered on ScienceFun.org. We’ve listed the steps and her ideas to further your student’s learning experience below.

Orange Fizz Experiment:

This experiment allows students to discover what happens when an acid combines with a base. Hint: Mrs. Lamb and her kids describe it like experiencing a healthy version of orange soda!

You will need:

  • 1 citrus fruit – An orange or clementine works perfectly.
  • Baking Power – You only need just enough to dip a piece of fruit.

Steps:

  1. Peel your fruit and separate it into pieces.
  2. Dip a piece of fruit into the baking power. You don’t have to cover the entire fruit. Dipping a portion will work well.
  3. Pop the fruit into your mouth.
  4. Share what you experience!

Further Learning:

Mrs. Lamb shared she likes to combine subjects together as much as possible, so she encourages parents and students to share the results of the experiments through writing about the experiment and the results, turning to PowerPoint to work on tech skills to create a presentation, and talking through what happened.

Explode a Bag Experiment:

Like the orange fizz experiment, this experiment also showcases what happens when carbon dioxide is emitted and contained. The results may take you by surprise!

You will need:

  • Ziploc Bag
  • Baking Soda (1 tablespoon)
  • White Vinegar (1/4 cup)
  • Baking Sheet

Steps:

  1. Pour the white vinegar into the bag.
  2. Twist the bag so when the baking soda is added, it’s in the envelope at the top of the bag.
  3. Seal the top of the bag.
  4. Release your hand to allow the mixture to combine.
  5. Shake the bag and place it onto your baking sheet.
  6. Step away and watch it explode!

Further Learning:

Mrs. Lamb suggests turning your phone onto video in order to capture a slow-motion video of your facial expressions and the exploding bag. Then share your video with friends, family, and teachers to share what you’re learning!

Make sure to tune into Mrs. Lamb’s Live on our Facebook page to try both experiments this weekend! Also, keep watching because Mrs. Lamb (and her kids!) offers tips for healthy snack recipes, how to limit screen time, and creative challenges you and your family can do together.

How to Homeschool: 3 Engagement Tips

Did you catch the second installment in our How to Homeschool series on Facebook Live this morning? First grade teacher Mrs. Lamb was back on our channel sharing more tips. Today, she highlighted three great ways to keep your students engaged in their work at home. And, we loved seeing comments rolling in from parents who said they were trying her calming techniques right along with her and seeing results! Today, let’s dive into energy, stamina, and poetry.

1. How to Release Energy

Kids are naturally energetic, and sometimes their energy levels feel even higher when they’re at home. Because they still need to complete their schoolwork (and parents need to work!), the best thing to do is to encourage your kids to release their energy through movement breaks. Here are a few of Mrs. Lamb’s top suggestions:

Go Noodle: Go Noodle specializes in educational games and activities for students, especially those who are in elementary school. The best part is each game requires students to move their bodies in order to reach the next level (think: waving arms, jumping, dancing, and yoga).

Yoga: If you want to encourage your student to release their energy and practice relaxation at the same time, turn to Cosmic Kids Yoga.

Flashcard Stair Race: Mrs. Lamb said she frequently writes a sight word on a flashcard and places one flashcard on every stair. Then, her kids have to run up and down the stairs and read while they get their wiggles out. This trick would also work well with math problems!

HIIT Workout: Many adults have learned the positives about HIIT workouts, and they’re great for kids too. Frog jumps, bear walks, cheetah runs (running in place!), and elephant stomps are all part of the workout. Kidokinetics has great videos on their website!

Wall Pushups: Rather than doing pushups on the group, encourage your student to do them against a wall. Place hands shoulder-width apart and lean into the wall as though you’re doing a pushup. Think about completing these in reps of 5-10.

Resistance Bands: Mrs. Lamb said she has placed resistance bands around chairs for her kids to use to exercise their legs while working on their schoolwork at the table.

Calming Techniques: These were definitely the fan favorite!

  1. Belly Breathing: Breathe in for 5 counts and out for 5 counts.
  2. Smelling Cake & Blowing Out Candles: Imagine you’re smelling cake. Then blow out the candles. The idea is a fun visual one, and you will still want to breathe in and out for 5 counts.
  3. Starfish Hands: Spread your hand out on the table. Then trace it with your other hand. You could also trace your hand with a pencil onto paper.

2. How to Keep Stamina Up

If you decide you want to run a marathon, most don’t go outside and run 26.2 miles the next day. Instead, you need to train in order to build up endurance and stamina. In order to learn to spend more time reading, learning, or working independently, kids need to build up their stamina in the same way. Mrs. Lamb offered these great tips!

Set a Timer: Mrs. Lamb used the idea of encouraging students to read independently. She said she will set a timer, and ask her kids to choose a book to read or look at the pictures until the buzzer sounds. Think about starting with 5-10 minutes, depending on your child’s age, and add 2 minutes to the timer each day to build up to longer stretches.  

Celebrate Small Wins: Mrs. Lamb related this suggestion back to the Gem Jar from our last post. Decide with your child what you would like your goal to be (maybe it’s 3 consecutive days of independent reading). Then celebrate the win! Mrs. Lamb mentioned her students love flashlight reading. Turn out the lights in a room and read a book with a flashlight.

3. How to Celebrate Poetry Month

April is Poetry Month, and many students would have been celebrating at school. So, celebrate at home and keep your kids engaged in reading and writing! Here’s what Mrs. Lamb suggests.

Read Poetry: This is the easiest way to celebrate! Check out famed (and fun!) poets, like Shel Silverstein, online.

Try Writing a Poem: Writing a poem in the shape of an object or writing about a color are great ways to introduce poetry. In terms of writing about colors, a go-to prompt is to describe a color using all five senses:

  1. What does the color look like?
  2. What does the color sound like?
  3. What does the color smell like?
  4. What does the color taste like?
  5. What does the color feel like?

Submit to a Poetry Contest: Mrs. Lamb noted there are plenty of contests kids of all ages can submit to! Try searching in your local area or find a contest online.

At the end of her Live, Mrs. Lamb answered questions from how to celebrate Earth Day to the books she loves for elementary school students and more! Make sure to watch the complete segment on our Facebook page.

Great news! Mrs. Lamb will be back for another segment on Thursday. We’ll see you on Facebook!

How to Homeschool Your Kids: Tips from a Teacher

In an effort to continue to share content that can make an impact in your lives, we have been sharing tips for keeping kids busy at home. Combined with your requests and requests from our own families and friends, today we thought we would tackle a new topic with help from an incredible educator: homeschooling!

Students, teachers, and parents are currently trying to navigate completely uncharted territory as many jump into homeschooling for the first time, and we knew first grade teacher, Mrs. Lamb, would offer great insight. So, we went live with Mrs. Lamb today on Facebook! Did you catch it? If not, make sure to watch the replay, and take a peek at the comments. There are so many great learning ideas from fellow Shopkickers who are homeschooling for the first time just like you!

A few of our favorite takeaways from Mrs. Lamb about how to homeschool:

1. Prep the Night Before

For parents who are also trying to work from home, we think this tip is especially meaningful! The night before, review the schoolwork your child needs to accomplish. Then, set initial assignments aside, especially those your child can complete without guidance from you. When you spot work that will require hands-on help, pull that from the pile and save it to do together to prevent interruptions during your work calls.

2. Create a Schedule

Kids (and adults!) are used to schedules, and it’s important to keep that going at home. Of course, you’re free to make modifications depending on how you and your family feel the day is going. However, having a general plan works wonders! Mrs. Lamb mentioned she and her kids have found it’s best to complete work that will require them to sit at the table during the morning. Then, they switch to a special, like art or music, during the afternoon and sometimes do a science experiment together. The freedom to play is especially important after lunch when energy levels rise and the desire to sit still starts to fade.

3. Encourage Independent Work

Mrs. Lamb was quick to point out students are asked to work independently at school, so they should be able to do the same thing at home! As we mentioned above, starting the day with independent work or scheduling it for times when you need to attend meetings works well. Mrs. Lamb also said Go Noodle is one of her go-to sites for younger kids who need fun activities that they can do on their own.

4. Set Up a Reward System

Mrs. Lamb mentioned a few different ways to offer rewards during her Live. She said she and her kids have been filling a mason jar with gems – they’ve named it The Gem Jar. Mrs. Lamb also mentioned choosing a word and then spelling it out with stickers each time a child (or parent!) has an accomplishment. A key takeaway: “wins” can be things like completing work or doing well on an assignment, but they can also be even more simple like being kind to a sibling or getting dressed for the day on their own. Once your goal is met, do something fun together at home!

5. Explore Activities at Home

Whether you’re planning how to explore specials together or thinking of a fun family reward for a full Gem Jar or completed work, you definitely don’t have to look further than your home! A few ideas that stood out to us: build a fort, camp in the living room, create chalk art with painter’s tape (here’s a tutorial), or enjoy a family movie night. 

BONUS: Stay Connected

We’re all missing the everyday connections we typically make without effort, so it’s more important now than ever before to make sure to stay connected to friends and teachers. Turn to Zoom, FaceTime, and more to stay in touch! While you’re talking, share what you and your family are doing during your school time together.

Mrs. Lamb sent us all of her go-to resources for at-home learning, and we wanted to make sure you can access them too. Here’s the full list:

Movement

Reading: 

Math Tools:

Enrichment Activities

Virtual Field Trips:

Communication Tools:

We’ll be sharing more tips and tricks from Mrs. Lamb, but don’t hesitate to chime in on Facebook in the meantime!