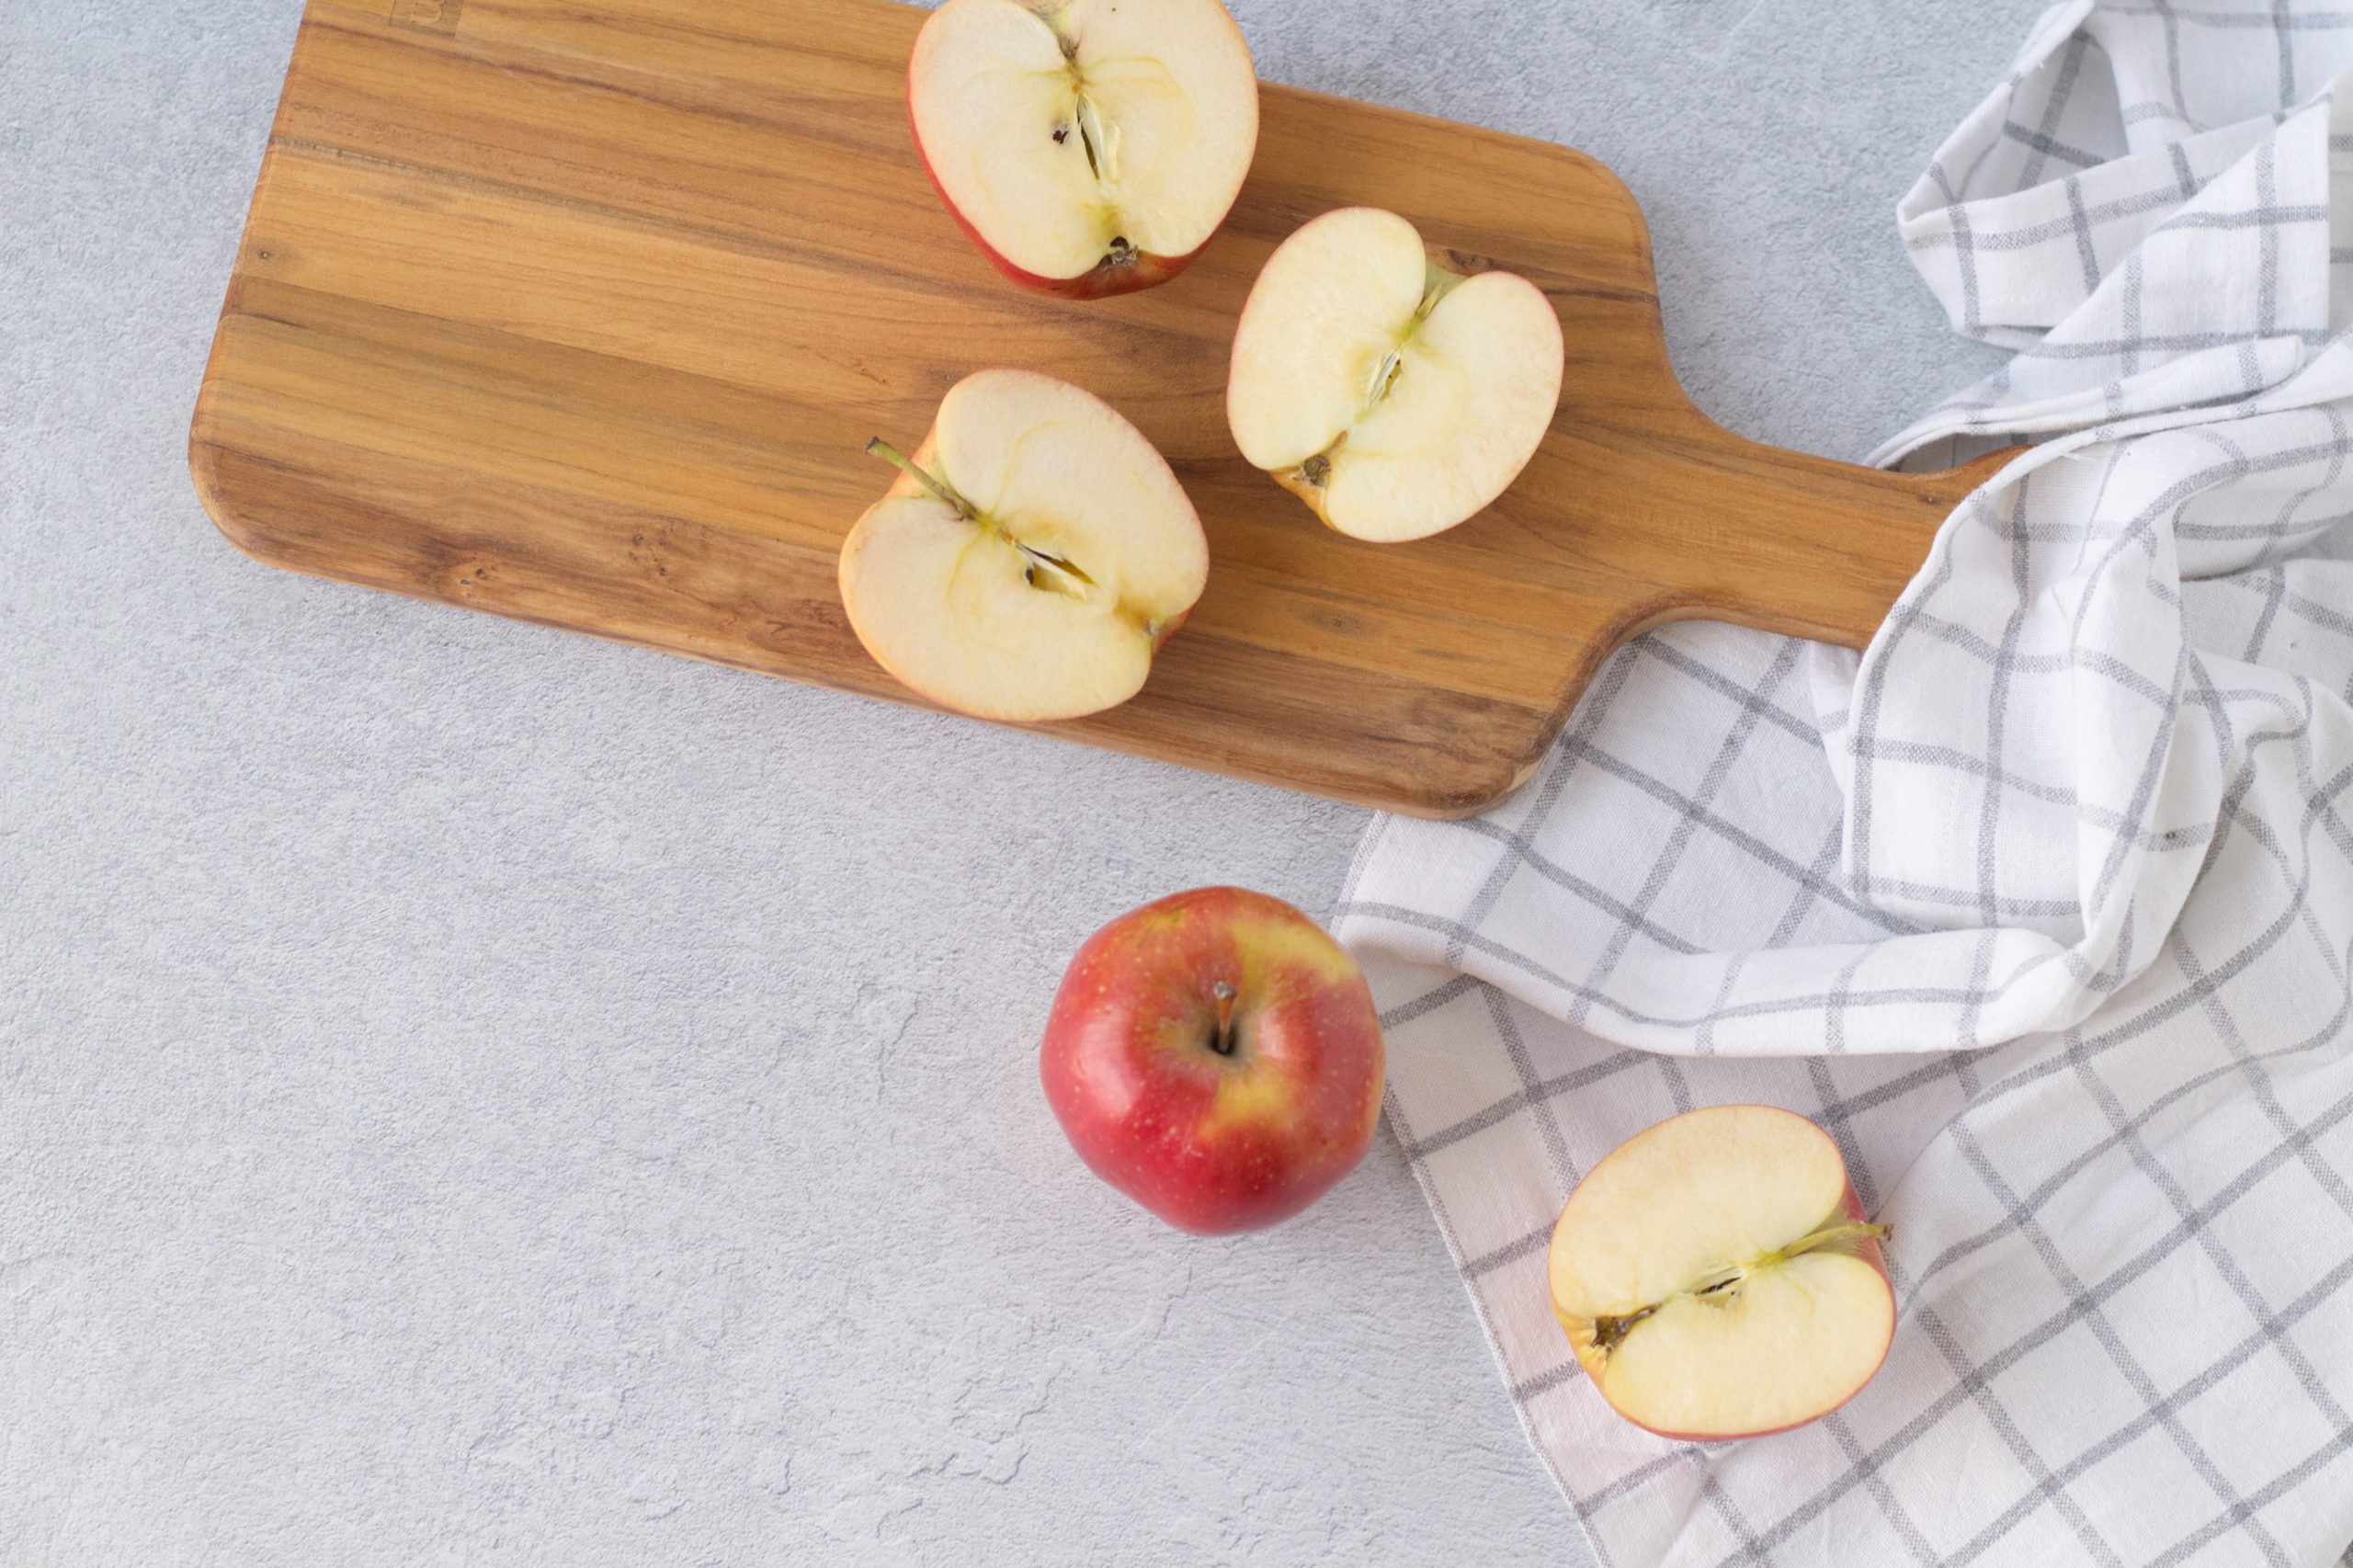
Fall Apple Crafts for Kids

There are many reasons to celebrate the arrival of fall, and we think one of them is definitely the start of apple season! We highly recommend choosing an afternoon to go apple picking in your local area. But, if apple picking isn’t quite your speed, there are still plenty of ways to craft with them. We’ve scoured the web to find five apple crafts we think kids of many different ages will enjoy. Let’s jump in! 

Apple Stamping:

Kids love to paint, and apples make wonderful stamps. We found two apple stamping tutorials that you should try! One involves creating an apple basket, while the other will lead your littles to make painted apples with faces you can hang. This is a simple way to encourage your kids’ creativity and love for color!

Apple Weaving:

If you have kids that are slightly older, challenge their fine motor skills with this apple weaving craft. You will need cardboard, paint, ribbon, and a few extra (common!) tools. Weaving is great because it acts as a great way for kids to create patterns using texture and color, and the apple is a fun seasonal touch.

Apple Watercolor:

By using makers and water on coffee filters, your kids can create their own unique watercolor art. The great thing about this craft is you likely have the core supplies at home, which means you won’t have to spend additional money. We love that the end result is apples with a creative twist you can hang up all season long! 

Apple Sun Catchers: 

To add new seasonal fun to your windows, think about creating apple sun catchers! We found two different tutorials to create new accessories for your windows, and both are equally unique. The first involves collecting fallen autumn leaves in your yard and then piecing them together to create a sun catcher. The second involves creating apple shapes using plastic beads. You can’t go wrong!

Apple Keepsake:

Kids grow and change quickly, so it’s sweet to make and hang up crafts that include their hands and feet. This apple keepsake asks makers to stamp their painted feet onto paper and then turn the stamp into an apple. You could also create a similar look by repeatedly stamping a finger. Either way, the result is a project you will treasure for years.

Which apple project will you make with your kids? Share your creativity on Facebook!

How to Homeschool: Two Easy Crafts for Preschoolers

Mrs. Lamb was back on Facebook Live yesterday, and this time she answered your question about how to encourage preschool age students to be creative. Throughout her broadcast, Mrs. Lamb explained how to do two different crafts with young kids between the ages of three and seven. We loved seeing the results of her mosaic art and dot art projects, and we’re excited to share more about each below! 

Mosaic Art:

Supplies:

  1. A picture either hand drawn or printed onto a piece of paper (a coloring book picture could work too!)
  2. Construction Paper
  3. Glue Stick

Why It’s Important:

This project encourages preschoolers to work on their fine motor skills because they will need to rip small pieces of paper. The skills they are exercising through this craft are the same skills they will use when they begin to work on their handwriting. That’s why projects like this one are important! Students can also learn about colors, math (you can ask them to count how many pieces of paper are needed to fill in each section), and staying within the lines.

Directions:

  1. Draw or print the outline of an object onto a piece of 8”x11” paper. The outline is important because your student will be filling the interior with paper.
  2. Tear small pieces of construction paper
  3. Beginning with the large sections, glue each piece of construction paper onto the larger paper within the section where your student would like it to be placed. The small pieces of paper should overlap. 
  4. Repeat steps 2 + 3 until the outline is filled in.
  5. Hang your preschooler’s project up! Placing it face out on a window is a great idea, so your neighbors can enjoy your student’s colorful art during their walks.

Dot Art:

Supplies:

  1. A picture either hand drawn or printed onto a piece of paper (a coloring book picture could work too!)
  2. Water Based Paint (Crayola works well!)
  3. Q-tips

Why It’s Important:

Like the mosaic art project, dot art encourages your student to work on their fine motor skills because they are pinching a Q-tip while they’re painting. They can also work on coloring within the lines, learning the difference between cool colors and warm colors, and how to describe their work.

Directions: 

  1. Draw or print the outline of an object onto a piece of 8”x11” paper. The outline is important because your student will be filling the interior with paint.
  2. Dip your Q-tip into the paint and paint dots* onto the paper.
  3. Repeat until the page is complete.
  4. Ask your student to describe what each color they’re using means to them and make a color guide.
  5. Hang your preschooler’s art in a place where you and your neighbors can enjoy it!
  6. *If your preschooler would prefer to paint longer strokes using the Q-tip, that’s fine too! As Mrs. Lamb points out, they are still working on their fine motor skills.

The important thing to keep in mind with either project is there isn’t a right or wrong way to complete them. Encourage your child’s creativity along the way! 

For more ideas and to see Mrs. Lamb explain (and make!) the projects, make sure to watch her Facebook Live. We’ll see you back on Facebook tomorrow for Mrs. Lamb’s next session!

How to Homeschool: Easy Science Experiments

We continued to share more fun activities you can do with your student at home while you navigate homeschooling together. Yesterday was all about science! We welcomed first grade teacher Mrs. Lamb back to Facebook Live, and she shared two great science experiments she discovered on ScienceFun.org. We’ve listed the steps and her ideas to further your student’s learning experience below.

Orange Fizz Experiment:

This experiment allows students to discover what happens when an acid combines with a base. Hint: Mrs. Lamb and her kids describe it like experiencing a healthy version of orange soda!

You will need:

  • 1 citrus fruit – An orange or clementine works perfectly.
  • Baking Power – You only need just enough to dip a piece of fruit.

Steps:

  1. Peel your fruit and separate it into pieces.
  2. Dip a piece of fruit into the baking power. You don’t have to cover the entire fruit. Dipping a portion will work well.
  3. Pop the fruit into your mouth.
  4. Share what you experience!

Further Learning:

Mrs. Lamb shared she likes to combine subjects together as much as possible, so she encourages parents and students to share the results of the experiments through writing about the experiment and the results, turning to PowerPoint to work on tech skills to create a presentation, and talking through what happened.

Explode a Bag Experiment:

Like the orange fizz experiment, this experiment also showcases what happens when carbon dioxide is emitted and contained. The results may take you by surprise!

You will need:

  • Ziploc Bag
  • Baking Soda (1 tablespoon)
  • White Vinegar (1/4 cup)
  • Baking Sheet

Steps:

  1. Pour the white vinegar into the bag.
  2. Twist the bag so when the baking soda is added, it’s in the envelope at the top of the bag.
  3. Seal the top of the bag.
  4. Release your hand to allow the mixture to combine.
  5. Shake the bag and place it onto your baking sheet.
  6. Step away and watch it explode!

Further Learning:

Mrs. Lamb suggests turning your phone onto video in order to capture a slow-motion video of your facial expressions and the exploding bag. Then share your video with friends, family, and teachers to share what you’re learning!

Make sure to tune into Mrs. Lamb’s Live on our Facebook page to try both experiments this weekend! Also, keep watching because Mrs. Lamb (and her kids!) offers tips for healthy snack recipes, how to limit screen time, and creative challenges you and your family can do together.

How to Homeschool: 3 Engagement Tips

Did you catch the second installment in our How to Homeschool series on Facebook Live this morning? First grade teacher Mrs. Lamb was back on our channel sharing more tips. Today, she highlighted three great ways to keep your students engaged in their work at home. And, we loved seeing comments rolling in from parents who said they were trying her calming techniques right along with her and seeing results! Today, let’s dive into energy, stamina, and poetry.

1. How to Release Energy

Kids are naturally energetic, and sometimes their energy levels feel even higher when they’re at home. Because they still need to complete their schoolwork (and parents need to work!), the best thing to do is to encourage your kids to release their energy through movement breaks. Here are a few of Mrs. Lamb’s top suggestions:

Go Noodle: Go Noodle specializes in educational games and activities for students, especially those who are in elementary school. The best part is each game requires students to move their bodies in order to reach the next level (think: waving arms, jumping, dancing, and yoga).

Yoga: If you want to encourage your student to release their energy and practice relaxation at the same time, turn to Cosmic Kids Yoga.

Flashcard Stair Race: Mrs. Lamb said she frequently writes a sight word on a flashcard and places one flashcard on every stair. Then, her kids have to run up and down the stairs and read while they get their wiggles out. This trick would also work well with math problems!

HIIT Workout: Many adults have learned the positives about HIIT workouts, and they’re great for kids too. Frog jumps, bear walks, cheetah runs (running in place!), and elephant stomps are all part of the workout. Kidokinetics has great videos on their website!

Wall Pushups: Rather than doing pushups on the group, encourage your student to do them against a wall. Place hands shoulder-width apart and lean into the wall as though you’re doing a pushup. Think about completing these in reps of 5-10.

Resistance Bands: Mrs. Lamb said she has placed resistance bands around chairs for her kids to use to exercise their legs while working on their schoolwork at the table.

Calming Techniques: These were definitely the fan favorite!

  1. Belly Breathing: Breathe in for 5 counts and out for 5 counts.
  2. Smelling Cake & Blowing Out Candles: Imagine you’re smelling cake. Then blow out the candles. The idea is a fun visual one, and you will still want to breathe in and out for 5 counts.
  3. Starfish Hands: Spread your hand out on the table. Then trace it with your other hand. You could also trace your hand with a pencil onto paper.

2. How to Keep Stamina Up

If you decide you want to run a marathon, most don’t go outside and run 26.2 miles the next day. Instead, you need to train in order to build up endurance and stamina. In order to learn to spend more time reading, learning, or working independently, kids need to build up their stamina in the same way. Mrs. Lamb offered these great tips!

Set a Timer: Mrs. Lamb used the idea of encouraging students to read independently. She said she will set a timer, and ask her kids to choose a book to read or look at the pictures until the buzzer sounds. Think about starting with 5-10 minutes, depending on your child’s age, and add 2 minutes to the timer each day to build up to longer stretches.  

Celebrate Small Wins: Mrs. Lamb related this suggestion back to the Gem Jar from our last post. Decide with your child what you would like your goal to be (maybe it’s 3 consecutive days of independent reading). Then celebrate the win! Mrs. Lamb mentioned her students love flashlight reading. Turn out the lights in a room and read a book with a flashlight.

3. How to Celebrate Poetry Month

April is Poetry Month, and many students would have been celebrating at school. So, celebrate at home and keep your kids engaged in reading and writing! Here’s what Mrs. Lamb suggests.

Read Poetry: This is the easiest way to celebrate! Check out famed (and fun!) poets, like Shel Silverstein, online.

Try Writing a Poem: Writing a poem in the shape of an object or writing about a color are great ways to introduce poetry. In terms of writing about colors, a go-to prompt is to describe a color using all five senses:

  1. What does the color look like?
  2. What does the color sound like?
  3. What does the color smell like?
  4. What does the color taste like?
  5. What does the color feel like?

Submit to a Poetry Contest: Mrs. Lamb noted there are plenty of contests kids of all ages can submit to! Try searching in your local area or find a contest online.

At the end of her Live, Mrs. Lamb answered questions from how to celebrate Earth Day to the books she loves for elementary school students and more! Make sure to watch the complete segment on our Facebook page.

Great news! Mrs. Lamb will be back for another segment on Thursday. We’ll see you on Facebook!