Physics for Kids with Monster Jam Trucks

First grade teacher Mrs. Lamb loves to create interactive lessons for her students when school is in session, and she has been providing us with some of our favorite content for the past few months. Today, she and her family dove into science and physics together with help from Monster Jam trucks!

Did you know a Monster Jam truck can weigh up to 12,000 pounds? That’s the same weight as an African elephant! They are exhilarating to watch live, and they represent science in action. As fun and exciting as it is to watch Monster Jam trucks in person, they’re also equally as enjoyable to play with at home. In today’s case, Mrs. Lamb and her family prove Monster Jam trucks offer a hands-on way to experience the push and pull of force.

Physics for Kids with Monster Jam Trucks | www.shopkick.com

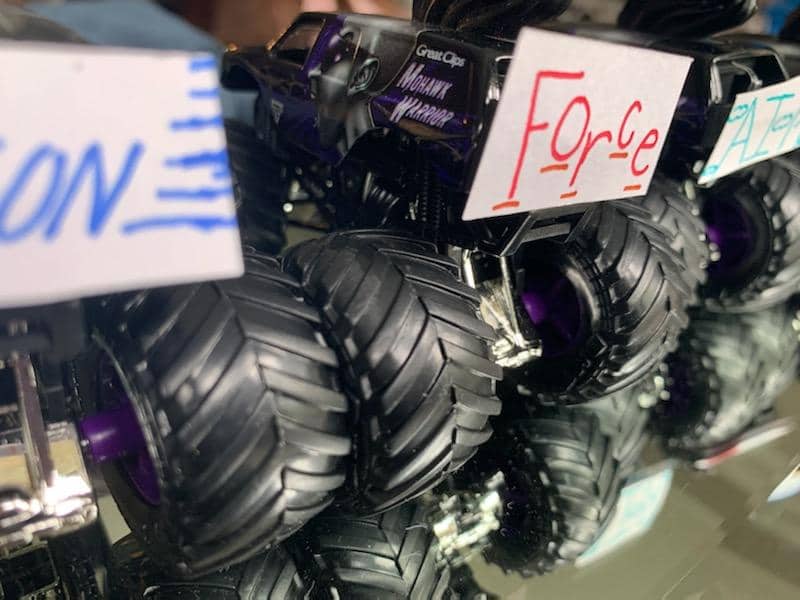
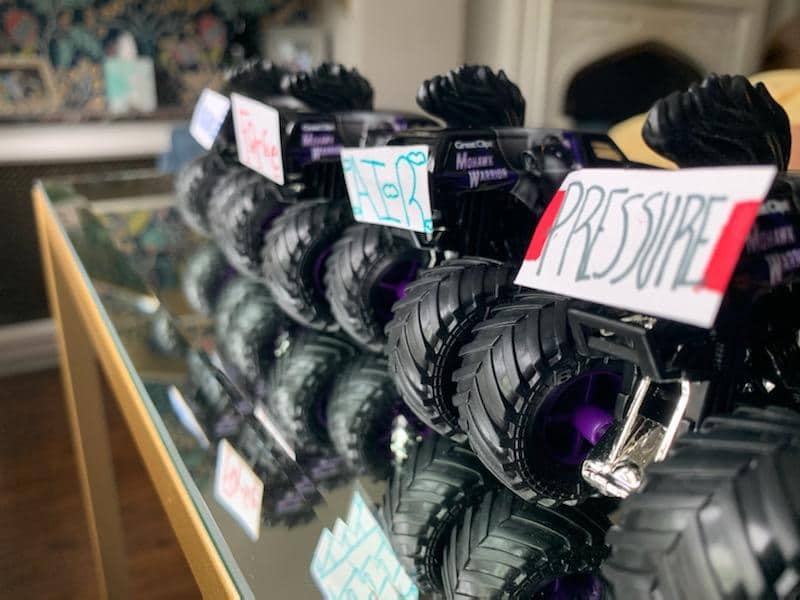
Mrs. Lamb and her family wanted to see which of their four Monster Jam trucks would win in a race of force. In this case, they focused on push! They named each of their trucks – Air, Pressure, Motion, and Force – and lined them up at the edge of their dining room table (space and length are key for this race!). Then each participant was given a straw to blow into once they were officially told the race had begun. 

Before we share the results, make sure you watch the full video! Which truck do you think will win?

The results of the Mohawk Warriors Monster Jam Truck Competition are in and the winner is…

…Motion!

Physics for Kids with Monster Jam Trucks | www.shopkick.com

The important fact about which Monster Truck won is why it won! As Mrs. Lamb mentions, force can be exhibited in both small and large amounts. In this case, the person who blew into the straw that powered the Motion truck took and released the biggest breath. That means, he released the most force! The result is the air that blew the Monster Jam truck had so much pressure and force that it was able to move the car forward. That’s physics!

This physics experiment is simple and fun to recreate at home, and we hope you do! Make sure to enter the giveaway on Facebook to win a Monster Jam truck. Then visit Monster Jam’s YouTube page to watch even more science videos.

Which Monster Jam truck will win your race? Let us know on Facebook!

At Home Science Experiment: Egg Drop

First grade teacher Mrs. Lamb was live again yesterday on Facebook, and we’re back to recap her session! This time, she dove into science after receiving requests to explore this fun subject. And, after chatting with a friend, she decided to explore the egg drop. Many of us remember the day when we had to create a structure that would protect an egg from a fall, and Mrs. Lamb introduced her kids to the experiment first and now you’re invited to take part too.

The steps to try this experiment at home are simple!

How to Do an Egg Drop Experiment at Home:

  1. Explain the concept of dropping an egg to your student. Older kids may have learned about force in their science classes, which is the ultimate lesson. However, there is plenty of creativity to be had for younger students too.
  2. Ask your student to create a structure they think can withstand a drop from a second or third story window or even from a lower down ladder. Encourage them to get creative and think about what might protect their egg during a fall. The key thing Mrs. Lamb noted was she encouraged her kids to use anything that could be recycled, which is a great idea in general and also in celebration of Earth Day.
  3. Encourage your student to decorate their egg! Mrs. Lamb’s kids got creative and drew on their eggs, which we thought was such a fun touch. They also named them for even more personalization.
  4. Prepare the egg for the drop! Place it inside the structure, make sure it’s secure, then head to the spot where you will drop it.
  5. Mrs. Lamb’s kids waited in the yard outside where they took videos of their eggs dropping in slow motion. The videos are fantastic!
  6. Open the structures to see if your egg survived the fall. The goal is for it to be intact.

After taking a peek at their eggs post-fall and reviewing why certain structures worked while others didn’t, Mrs. Lamb’s kids asked to try again. One experiment turned into a complete activity for Mrs. Lamb and her family, and we think you and your family will have fun too!

Will you take part in the egg drop experiment? If you do, make sure to share it with us on Facebook. Stay tuned for next week because Mrs. Lamb will be back on Tuesday to share even more ideas live!

How to Homeschool: Easy Science Experiments

We continued to share more fun activities you can do with your student at home while you navigate homeschooling together. Yesterday was all about science! We welcomed first grade teacher Mrs. Lamb back to Facebook Live, and she shared two great science experiments she discovered on ScienceFun.org. We’ve listed the steps and her ideas to further your student’s learning experience below.

Orange Fizz Experiment:

This experiment allows students to discover what happens when an acid combines with a base. Hint: Mrs. Lamb and her kids describe it like experiencing a healthy version of orange soda!

You will need:

  • 1 citrus fruit – An orange or clementine works perfectly.
  • Baking Power – You only need just enough to dip a piece of fruit.

Steps:

  1. Peel your fruit and separate it into pieces.
  2. Dip a piece of fruit into the baking power. You don’t have to cover the entire fruit. Dipping a portion will work well.
  3. Pop the fruit into your mouth.
  4. Share what you experience!

Further Learning:

Mrs. Lamb shared she likes to combine subjects together as much as possible, so she encourages parents and students to share the results of the experiments through writing about the experiment and the results, turning to PowerPoint to work on tech skills to create a presentation, and talking through what happened.

Explode a Bag Experiment:

Like the orange fizz experiment, this experiment also showcases what happens when carbon dioxide is emitted and contained. The results may take you by surprise!

You will need:

  • Ziploc Bag
  • Baking Soda (1 tablespoon)
  • White Vinegar (1/4 cup)
  • Baking Sheet

Steps:

  1. Pour the white vinegar into the bag.
  2. Twist the bag so when the baking soda is added, it’s in the envelope at the top of the bag.
  3. Seal the top of the bag.
  4. Release your hand to allow the mixture to combine.
  5. Shake the bag and place it onto your baking sheet.
  6. Step away and watch it explode!

Further Learning:

Mrs. Lamb suggests turning your phone onto video in order to capture a slow-motion video of your facial expressions and the exploding bag. Then share your video with friends, family, and teachers to share what you’re learning!

Make sure to tune into Mrs. Lamb’s Live on our Facebook page to try both experiments this weekend! Also, keep watching because Mrs. Lamb (and her kids!) offers tips for healthy snack recipes, how to limit screen time, and creative challenges you and your family can do together.